How to Make a Product Catalogue with Google Drive and GalleryLink
Turn the Google Drive folder you already keep into a live product catalogue with GalleryLink: subfolders become categories, filenames become product names and prices, buyers shortlist and ask about items, and updating the folder updates the catalogue.
Short answer
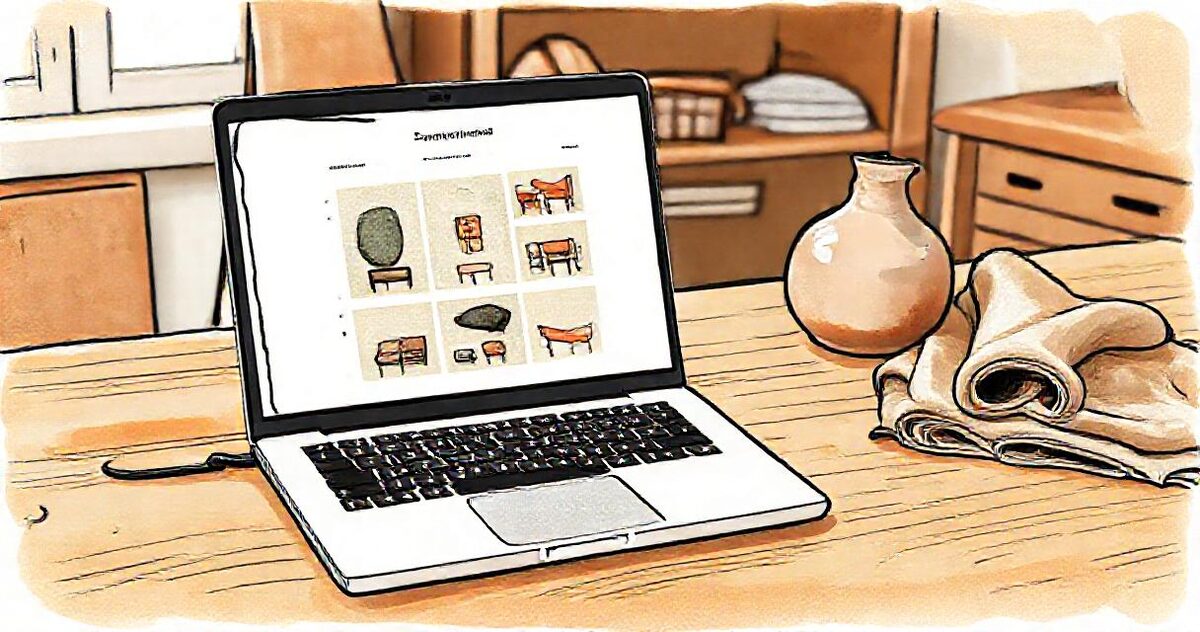
Put product photos in one Google Drive folder with a subfolder per category and name each file as the product (prices optional). Share the folder as 'Anyone with the link', create a GalleryLink gallery from it and choose Product catalogue. Categories become sections, filenames become the names under each photo, buyers can shortlist and ask about items, and the catalogue updates whenever the folder does.
Somewhere in your Google Drive there is already a folder of product photos. It is probably organised better than your website: one subfolder per range, files named after the products, updated the day something new is photographed. The usual next steps all throw that organisation away. Export a PDF and it is out of date within the month. Rebuild it in a website builder and the photos now live in two places, and only one of them is ever current. Send the raw folder link and your customer gets a file manager with a grey toolbar and filenames like IMG_4417.jpg.
There is a shorter path: the folder itself becomes the catalogue. This guide walks through the whole thing, from arranging the folder to reading what buyers actually shortlist, using Google Drive and GalleryLink.
- Why the folder is already the best version
- Step 1: Organise the folder like a catalogue
- Step 2: Name files like products (and prices)
- Step 3: Share the folder the right way
- Step 4: Create the catalogue gallery
- Step 5: Make it look like your brand
- Step 6: The settings that matter for a catalogue
- Step 7: One link, everywhere (and a QR card)
- Making the grid look expensive
- What your buyer sees
- From browsing to buying
- Updating: there is no step 8
- New arrivals, sold out, and last season
- A trade view beside the public one
- Reading what buyers actually want
- When someone insists on a PDF
- Seven mistakes worth avoiding
- What this is not
- What it costs
- The whole thing on one page
Why the folder is already the best version
Every catalogue eventually fails in the same way: the products change and the catalogue does not. A PDF is a photograph of a moment. A website builder is a second home for pictures that already live somewhere, and second homes drift. Both ask you to maintain the same information twice, and the copy customers see is always the older one.
The folder does not have that problem, because the folder is where the work already happens. When a new piece is photographed, it goes into the folder that day. When something is discontinued, it leaves. Nobody has to remember to publish, because there is nothing to publish. If the catalogue simply reads the folder, it is correct by construction rather than by discipline.
That is the whole idea. Everything below is the practical detail of doing it well.
Step 1: Organise the folder like a catalogue
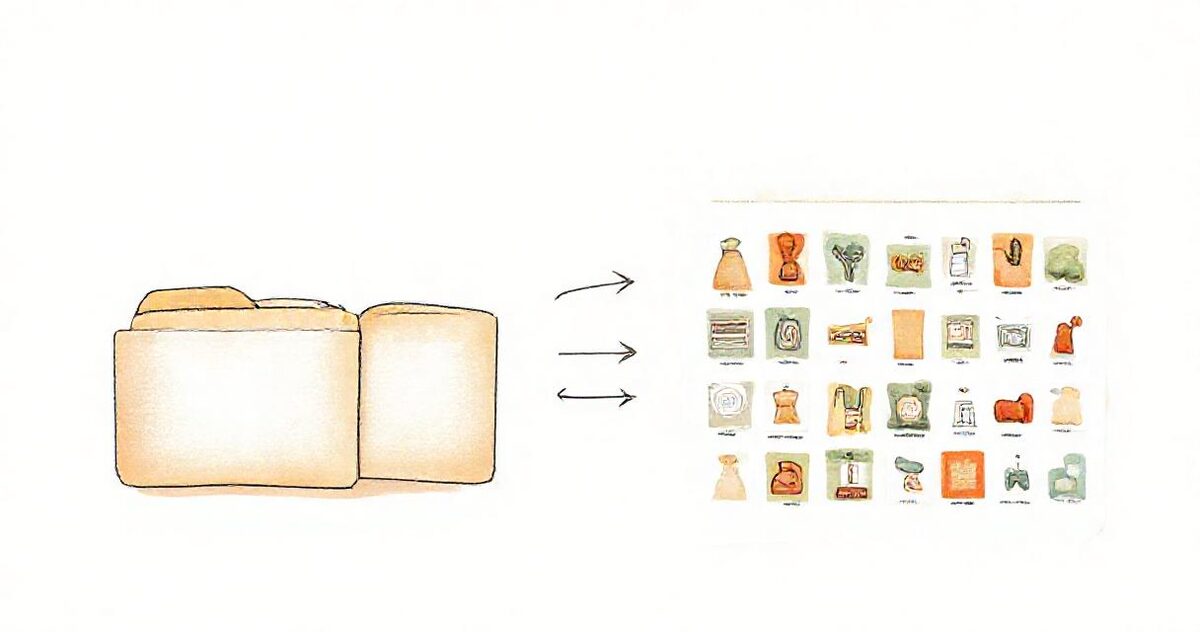
The folder structure becomes the page structure, so arrange it the way a customer should browse, not the way the photos were shot:
| In Google Drive | In the catalogue |
|---|---|
| The main folder | The catalogue itself, with its title and cover |
| Subfolder "Chairs" | A Chairs section, with a pill in the category bar to jump to it |
| Subfolder "Tables" | A Tables section |
| Loose photos in the main folder | A lead section at the top, which makes a natural "New in" shelf |
A few practical rules:
- Make a dedicated catalogue folder. Do not point the catalogue at your working folder full of alternates and retouching drafts. Copy the finished, public photos into a clean folder. Everything in it will be visible.
- Ten to fifteen categories is comfortable. On a phone the category bar scrolls sideways, so a long range still works, but past fifteen people scroll rather than choose.
- Control order with a number. Within a category, files sort by name in natural order, so
01 Oslo Chair,02 Bergen Chairputs them exactly where you want. Use two digits (01not1) so ten does not jump ahead of two. - Videos are fine. A short clip of a fabric moving or a lamp switching on sits in the grid beside the photos.
Step 2: Name files like products (and prices)
In a catalogue, the filename appears under the photo. This sounds small and is actually the whole trick: your file naming, which you already do, becomes your product labelling, which you thought you needed a database for.
The conversion is deliberately gentle:
| Filename | Shown under the photo |
|---|---|
banqueta-austria.jpg | Banqueta Austria |
oslo_dining_table.jpg | Oslo Dining Table |
Oslo Dining Table · from $890.jpg | Oslo Dining Table · from $890 |
Café Crème Mug.jpg | Café Crème Mug |
1163 - Notre-Dame (Paris) - Oak.jpg | 1163 - Notre-Dame (Paris) - Oak |
The rules behind that table: the extension is dropped; in an all-lowercase name, hyphens and underscores become spaces and each word gets a capital. If you type capitals or accents yourself, the name is shown exactly as you wrote it. If the name has spaced dashes (" - "), it is treated as written field by field and shown as is, so a reference number, a model name and a finish all survive.
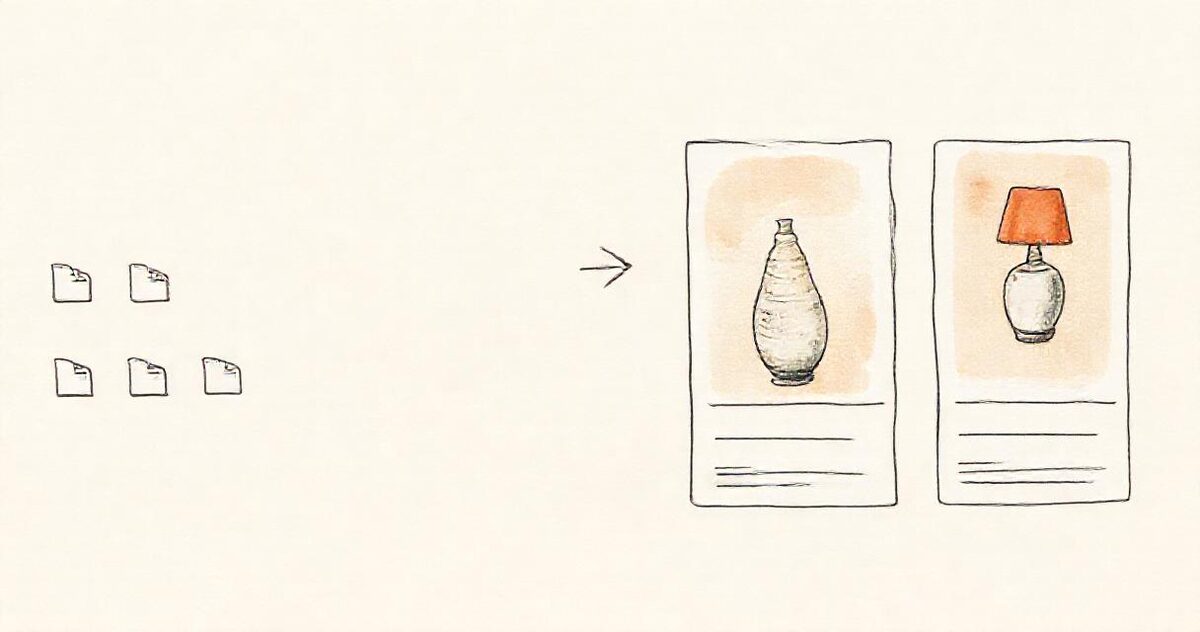
Prices are optional. Put them in the filename ("· from $890", "· €45") and they appear under the photo. Many wholesale sellers prefer to leave them out of the public catalogue and use a password-protected trade version instead (see below).
A tip for renaming a whole range: Google Drive renames one file at a time, so for a large catalogue it is quicker to rename the files on your computer before uploading them to Drive. Rename once; the names then do the work forever.
If you upload photos directly to GalleryLink instead of using Drive, each item also has a caption field in the Photos manager. A caption replaces the filename under the photo, without renaming anything.
Step 3: Share the folder the right way
The catalogue reads the folder, so the folder must be shared:
- In Google Drive, right-click the catalogue folder and choose Share.
- Under General access, change "Restricted" to Anyone with the link, with the role set to Viewer.
- Click Copy link.
On a phone, it is the ⋮ menu next to the folder, then Share, then the same change. "Anyone with the link" means the folder is only reachable by someone who has its address; it does not appear in search and your other Drive files are not affected. Your customers never see the Drive link itself, only the catalogue's.
If the catalogue says it cannot open the folder, it is almost always still set to Restricted. Change it and click Check again. If it finds no photos, check that you shared the folder that holds the photos and not a single file or a parent folder; GalleryLink tells you when your photos are one folder further in and offers to use that folder instead.
Step 4: Create the catalogue gallery
- In GalleryLink, start a new gallery and paste the folder link. You will see the first photos and a count within a few seconds.
- Under What is this gallery?, choose Product catalogue. This is the switch that turns a client gallery into a catalogue: names appear under every photo, the favourites heart becomes a shortlist, and each item gets an ask about this item button.
- Give it a title (it starts as the folder's name) and a short description: who it is for, what the range is, how to order.
- Pick a grid layout. Square tiles make a range look consistent; masonry suits products with very different shapes.
- Choose a cover photo, and drag its focal point if the product sits off centre.
There is also a Product menu option next to it, for cafés and restaurants: names and prices under the photos with no hearts or shortlist. It is the same idea for a different counter; our guide to a QR photo menu from Google Drive covers it.
The live preview on the right updates as you change things, so you see the names under the photos before anyone else does.
Step 5: Make it look like your brand
A catalogue is a brand surface, so it should look like your shop rather than like ours. Start with a theme close to your feel (Editorial, Minimal and Noir are good starting points for products), then, on Pro, set your own:
- Accent colour for buttons, links and the shortlist heart. Pick it with the colour picker or paste your hex code.
- Background colour, if your brand has one. Text adjusts automatically so it always stays readable, whatever you choose.
- Heading and body fonts, from a set of serif, sans, display and script faces.
If you will make more than one catalogue (a retail one, a trade one, a seasonal one), save these once as your brand kit under Brand kit in the dashboard. Every new gallery then starts in your colours and fonts, and one button applies the kit to every existing gallery. With Pro, the "Made with GalleryLink" branding comes off, and your studio name and logo appear instead.
Step 6: The settings that matter for a catalogue
Most gallery settings were designed for photographers delivering a shoot. For a catalogue, these are the ones worth a deliberate decision:
| Setting | For a catalogue |
|---|---|
| Downloads | On if stockists and press need your product shots; off for a consumer catalogue where you would rather the photos were not saved. Most sellers turn them on in the trade version only. |
| Album selection | Turn it on so buyers can send their shortlist to you. In a catalogue the button reads "Send shortlist". |
| Let clients share photos with guests | Lets a buyer send a link containing only the items they shortlisted, which is how a shop buyer shows their partner the five pieces they liked, without the whole range. |
| Password (Pro) | For a trade or private catalogue. |
| Available until (Pro, beta) | For a seasonal line sheet or a limited drop. Visitors see the closing date in the last two weeks, then a polite closed page. Nothing is deleted. |
| Gallery address | Type your own ending, such as autumn-2026, rather than the generated one; it is the link you will print. |
Step 7: One link, everywhere (and a QR card)
The same address goes in the Instagram bio, the WhatsApp Business greeting, the email signature and the footer of your invoices. When someone asks "do you have a catalogue?", the answer is one link that opens instantly on a phone: no app, no account, no download.
When the gallery is created you also get a QR card, ready to print, with your cover photo in it. Put it on the counter, at your market stall, on the swing tag, in the parcel. A customer scans it and is browsing the full range before they leave.

That is the practical difference from a PDF, which on a phone means downloading a file, finding it, and pinch-zooming through pages designed for A4. The full comparison is in catalogue versus PDF.
On Pro, your catalogues can live on your own address, yourname.gallerylink.live or your own domain, next to a studio page with your contact form.
Making the grid look expensive
A catalogue grid is judged in about two seconds, and what people react to is consistency rather than resolution. A few habits do most of the work:
- Pick one background and stay with it. A range shot on the same paper or the same wall reads as a collection. The same range shot half on white and half in a living room reads as a folder.
- Keep the subject the same size in the frame. Wildly different crops make a tidy grid look restless, even when every photo is good.
- Lead with the hero angle. In a numbered folder, the first photo of each product is the one people see first, so make it the angle that sells. Details come after it, named so they sort next to it (
04a,04b). - Do not upload raw camera files. A long edge of 2000 to 3000 pixels is plenty for a catalogue. The grid uses resized previews, but the full photo is fetched when someone opens an item, and smaller files open faster on a phone signal.
- Shoot the odd shapes deliberately. Very tall or very wide products stand out in a masonry layout, which is useful when intentional and distracting when not. Square grid tiles hide the difference.
What your buyer sees
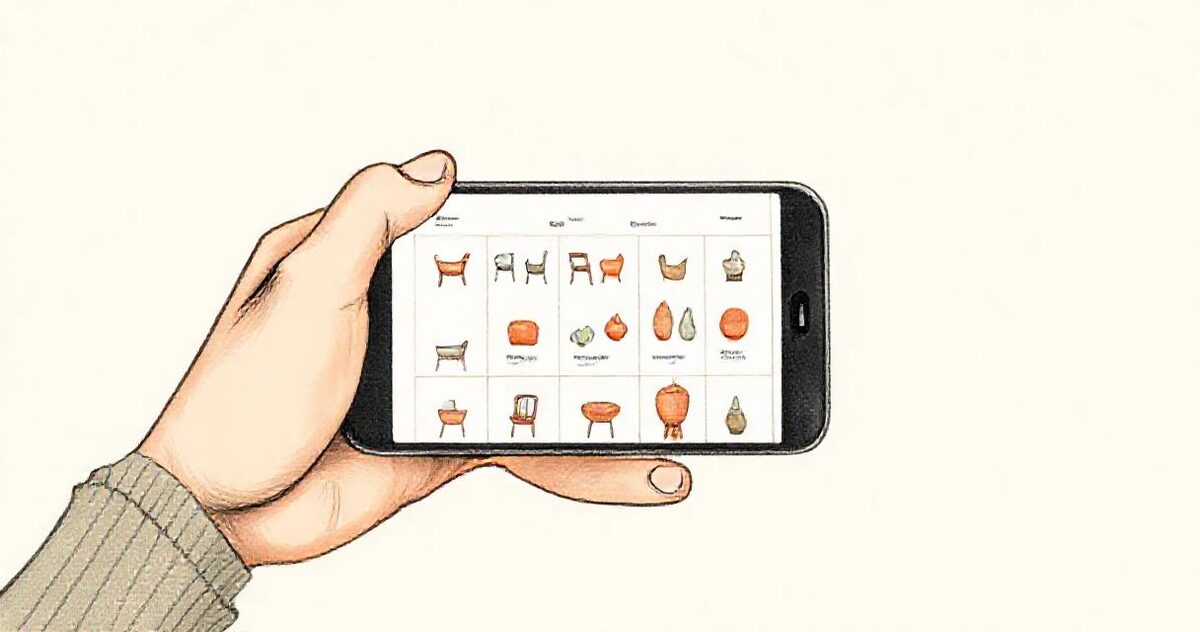
Most catalogues are opened on a phone, usually while someone is talking to you, so the phone view is the real view:
- A cover with your title, then a category bar across the top that scrolls sideways and jumps to each section.
- A grid with the product name under every photo.
- Tap a photo and it opens full screen; swipe to move through the range.
- In the full-screen view: the shortlist heart, ask about this item, and Share. Share sends a link that opens straight on that one product, which is exactly what someone forwarding "this one?" to a partner or a colleague needs.
- A sort option (by name, newest or oldest), useful when your naming is alphabetical but buyers want to see what is new.
No account, no app, and nothing to install. It works the same on a laptop, where buyers tend to compare several items side by side.
From browsing to buying
A catalogue gives a buyer two actions a brochure never had:
- Ask about this item. Every product carries a button that sends you the buyer's question with the product name attached. It arrives in your email with reply-to set to the buyer, and in your dashboard's inquiry list, so you can answer from your normal inbox. (Inquiries are part of Pro.)
- The shortlist. Buyers heart the pieces they are interested in and send the list, with a note. What comes back is exact product names, not "the third chair on the page with the arms".
Deliberately, there is no cart. The moment a catalogue needs stock levels, variants and payment, it is a shop, and it should be a real shop. Everything before that moment, which for most makers, small retailers and wholesale brands is most of the selling, happens here: they browse, they shortlist, they ask, and you close the sale the way you already do, by reply, WhatsApp, phone or invoice.
Updating: there is no step 8
New product photographed, dropped into its subfolder, live in the catalogue. Sold out, removed, gone. Renamed, relabelled. Because the catalogue reads the folder, changes show up within about a minute, with no export, no publish button and no "catalogue_v4_FINAL.pdf" in six inboxes. The link you shared last year shows this year's range, and the QR card you printed in spring still works in autumn.
That also means anything you drop into the folder is public within the minute. The immediacy is the feature; treat the folder with the same care as posting.
New arrivals, sold out, and last season
Three moves cover most of the catalogue calendar, and all three are folder operations:
- New arrivals. Photos sitting loose in the main folder show above the categories, so the main folder is a natural "New in" shelf. Move them into their category when they stop being new.
- Sold out. Take the file out of the folder and it leaves the catalogue. If a piece is coming back, move it to an "Archive" folder outside the catalogue folder rather than deleting it, so the name and photo are ready when it returns.
- Last season. A second gallery pointed at the archive folder gives you a quiet link for pieces you still sell occasionally, without crowding the main range. Give it an "Available until" date if it is a clearance.
A trade view beside the public one
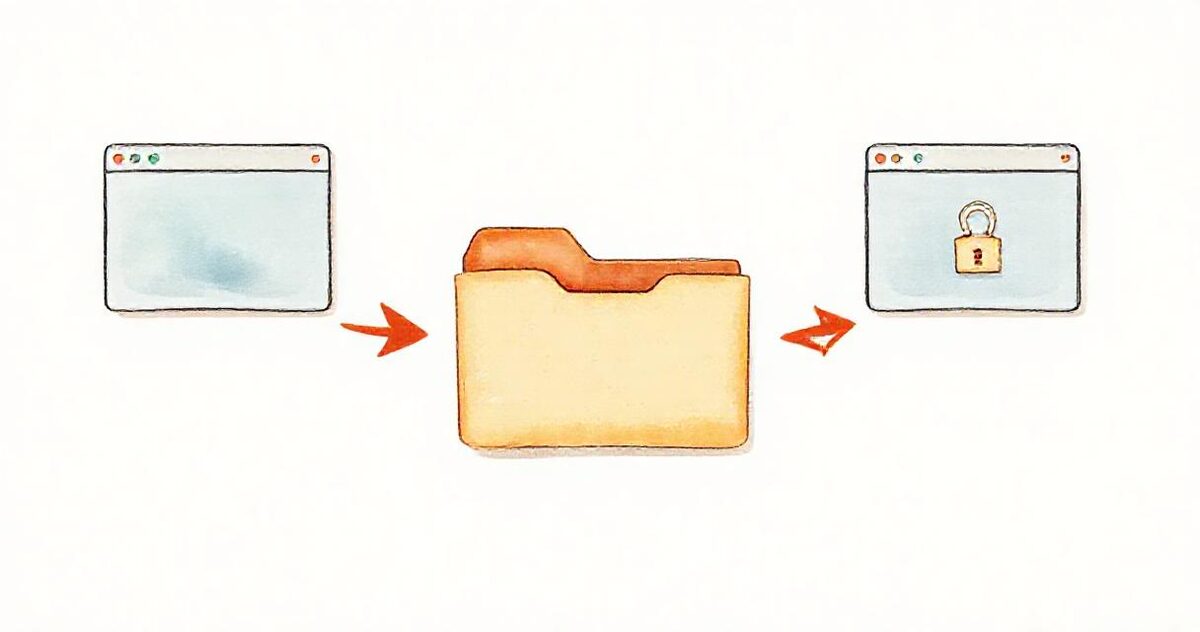
Wholesale and retail want different things from the same products. A clean way to serve both:
- Keep the public catalogue over your main folder, no prices or retail prices only, downloads off.
- Make a second folder for trade, with the same photos named with trade prices and minimum order quantities, for example
Oslo Chair · trade $310 · MOQ 4.jpg. - Create a second catalogue over it with a password and downloads on, so stockists can use your photos on their own sites.
If your trade and retail names are the same and only the access differs, you can point both galleries at the same folder: one set of photos, two audiences, nothing to keep in sync. The workflow is covered in more detail in sharing product photos with retailers and stockists.
Reading what buyers actually want
A paper catalogue tells you nothing. A live one quietly answers the question every maker argues about, which is what people actually like versus what you think they like.
- Views tell you whether the link is being opened at all, which separates a distribution problem from a product problem.
- Shortlists are the strongest signal you get. When a buyer hearts six pieces and sends them, that list is a demand ranking written by a customer.
- Questions arrive with the product name attached, so repeated questions on the same item usually mean the photos are missing an angle, a dimension or a material.
After a season this adds up to something useful: the pieces that get hearted but never asked about, and the pieces nobody opens, are both telling you something, about the range and about the photographs.
When someone insists on a PDF
Some buyers, especially procurement teams and older trade accounts, will ask for a file however good the link is. That is fine. On the Studio plan a catalogue exports to PDF from the gallery itself, cover and sections included, so the file is generated from the same folder rather than maintained separately. You send the PDF to the one buyer who wants it, and the link stays the version everyone else sees. What matters is which one is the source of truth, and it stays the folder.
Seven mistakes worth avoiding
- Treating the folder as storage rather than as the page. Working files, alternate crops and screenshots do not belong in the catalogue folder. Keep a separate working folder and copy in only what should be public.
- Filenames written for a computer.
IMG_4417.jpgbecomes a product called "IMG 4417". Rename before you share, not after a customer points it out. - Leaving the folder on Restricted. The catalogue cannot read a folder that is not shared. It is the single most common reason a new catalogue looks empty.
- Fifty categories. A category bar is a navigation aid, not an index. Ten to fifteen is comfortable.
- Forgetting to choose Product catalogue. Left on Photo delivery, the gallery works, but without names under the photos, the shortlist or the ask button, which is most of what makes it a catalogue.
- Prices in the public catalogue when your business is wholesale. Put trade prices behind the password and keep the open link about the products.
- Raw camera files. A catalogue of 40 MB originals is slow on a phone signal. Export at a long edge of 2000 to 3000 pixels.
What this is not
It is not e-commerce: no checkout, no inventory, no variants. It is not a product information system: the data is the filename or caption, which is exactly enough for a browsable catalogue and nothing more. If you outgrow it into Shopify or WooCommerce, your photos are still in your folder, organised, named and ready to import. Nothing about starting here costs you later.
What it costs
- Free: create a catalogue from your folder and share it free for 24 hours, which is enough to see how it looks and send it to a few people. To keep that one catalogue online after that, it is $10, once.
- Pro, $5 a month or $50 a year: unlimited catalogues, always online; passwords for trade views; ask-about-this-item inquiries; your brand colours, fonts and brand kit; your studio page and address; no GalleryLink branding.
- Studio, $15 a month or $150 a year: everything in Pro, plus PDF export of a catalogue, watermarks, and 250 GB for photos uploaded directly to GalleryLink.
Current details are always on the pricing page.
The whole thing on one page
- Make one clean folder for the catalogue, with a subfolder per category.
- Copy in the finished photos, named the way each product should read, with a number prefix where order matters.
- Share the folder as "Anyone with the link" and copy the link.
- Create a gallery from that link and choose Product catalogue.
- Pick a grid layout, a cover and a theme; on Pro, add your colours and fonts or your brand kit.
- Turn on Album selection so buyers can send their shortlist, and decide on downloads.
- Choose your own address, then download the QR card.
- Put the link in your bio, your signature, your WhatsApp greeting and on the counter.
- If you sell wholesale, add a password-protected trade catalogue.
- From then on, just update the folder.
The product catalogue page shows the finished shape, and you can start one free from the folder you already have.